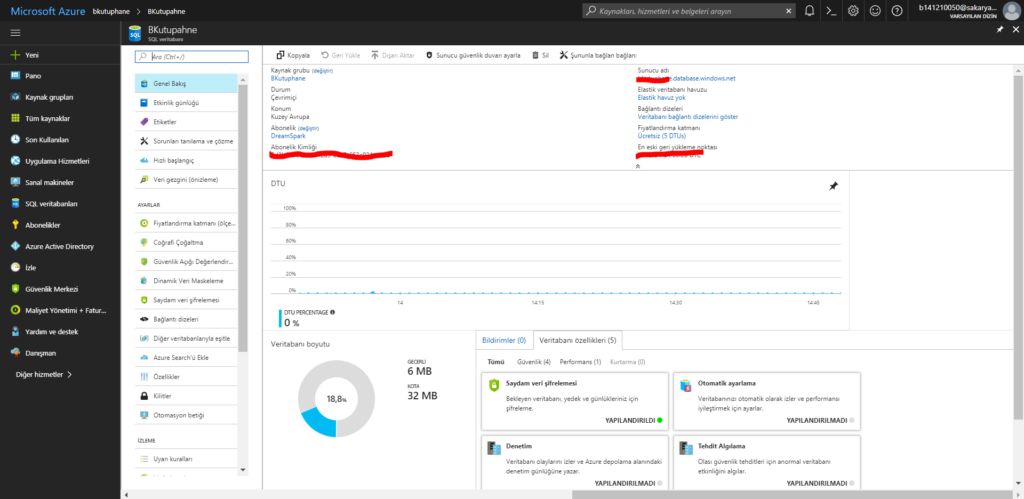
You may want to organize your databases that you have opened in Azure. We need a program for this. To meet this and create a database locally, Microsoft offers us the SQL Server Management Studio. It is a program I think will help us a lot when we keep our data regularly, organize our tables, find the data we are looking for. In this article I will show you how to organize a database in SQL Server that I have created in Azure. First I go to Azure account for this. I need to get the information here by clicking on an SQL database project that I have opened here.

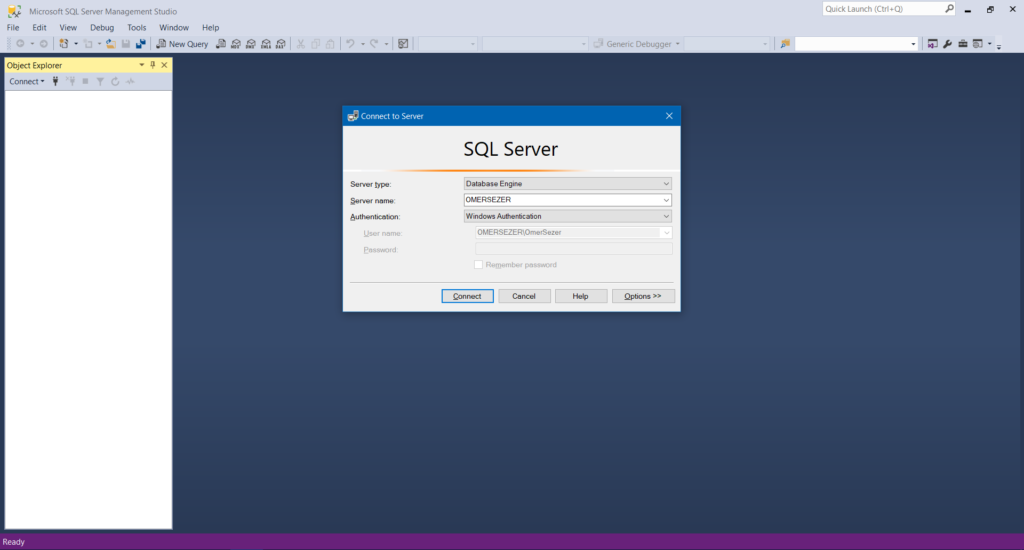
As you can see here, we can get the address, username and password of the server. In SQL Server we are able to make changes on the data base for the moment. Once we have this information, we need to open SQL Server Management Studio. When we open the program, we will see such a page.

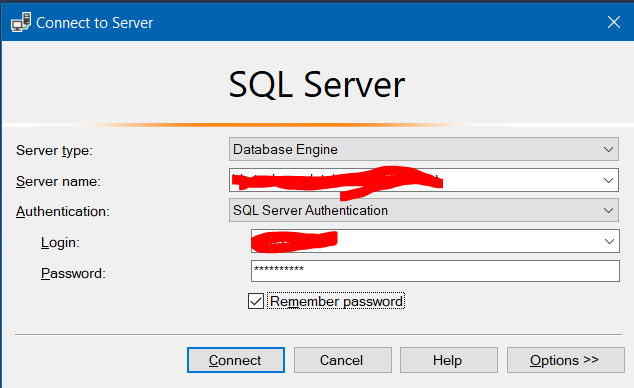
On this page, when you write a dot or computer user name instead of Server Name, you can install and run a database locally. We will work on Azure online first, so we need to change the authentication first. We are doing this on SQL Server Authenticaiton. After that, username and password are opened to us.
In server name we are entering the server name we obtained from Azure. We fill in the username and password again accordingly.

Then we connect and connect. In some databases the server security situation is dominant. It asks you for permission. Instead of writing your own IP address to the firewall each time, you can type an IP address from start to finish. If you want to add something to a database or to add something in a program, it may still fail. I know there was a couple of painful experiences. If you experience such a problem, you can still see the problem with try catch.
Once you are connected, you can take action. In the next lessons I will write again about the database operations. I can start from there if you have a priority
If you have any questions or concerns, you can ask by comment and mail.
Leave a Reply