
Activity Indicator usage is generally important. When we do something on the backplane, it is necessary to let the user know that something is behind. For this, a rotating circular object appears on the screen. We call it Activty Indicator. I have already mentioned how it was used for Xamarin from my earlier writings. In this article I will indicate how to use Swift. It will be a simple article.
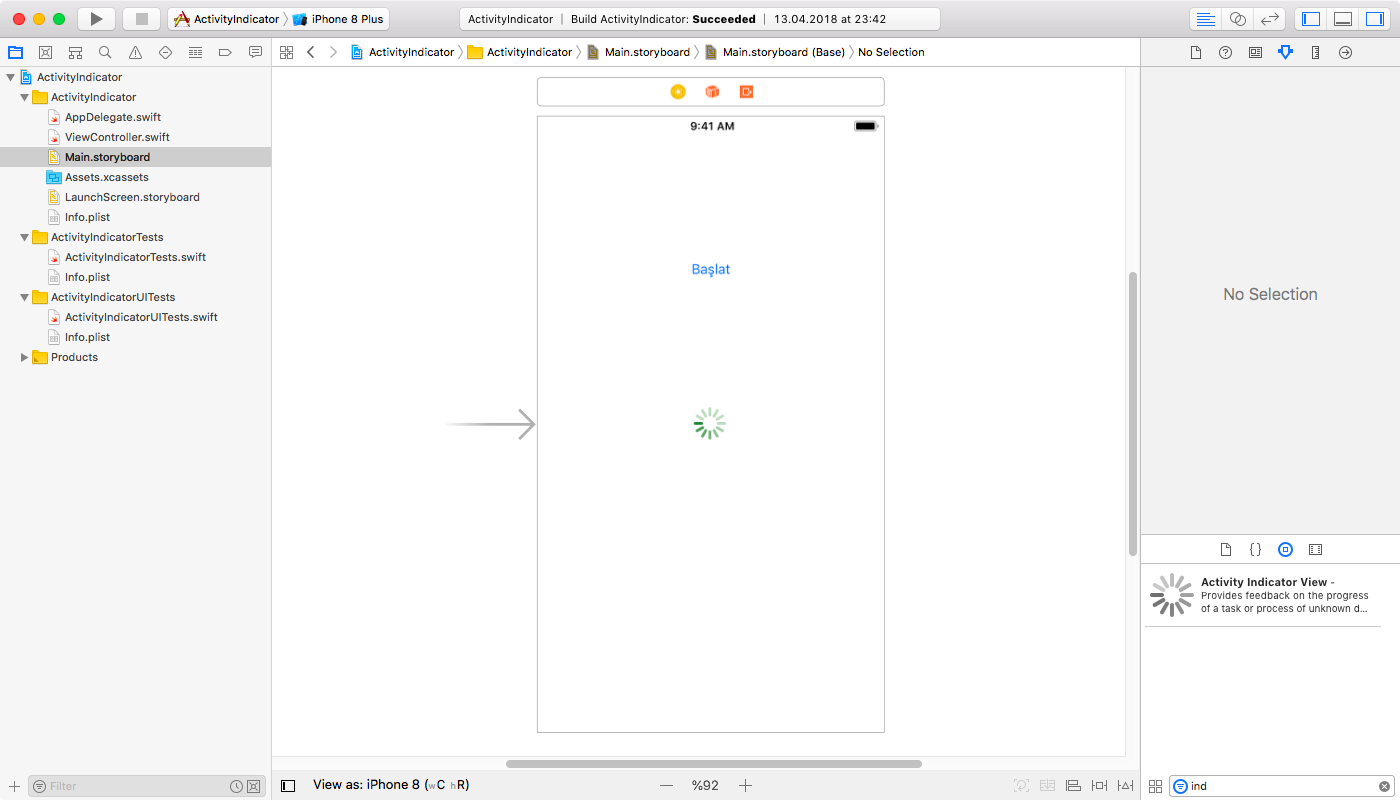
First we will have to upload the file with the .storyboard extension in our progeny and assign it to view. We need to assign Activity Indicator to this page. After that, we can easily change the size and color of this property from side to side. After making these adjustments, I throw a button on the screen separately. The scenario will stop if the activity indicator is not running, or if it is running. Our design part looks like below.
Now let’s get to the code part. We need to create an outlet for Activity Indicator. In this way, we will be able to access the activity indicator and stop it. In addition to that, we create an action for the button. With this button we will stop and start. We use a variable to control whether the system works. We start and stop the Activity Indicator with the startAnimating () and stopAnimaitng () functions. We are also checking if it works with else.
@IBAction func Baslat(_ sender: Any) {
        if sayi == 0 {
            yuklemeImleci.startAnimating()
            sayi=1
        }
        else
        {

            yuklemeImleci.stopAnimating()
            sayi=0
        }

    }
If you have any questions, you can reach us by email or comment.
Leave a Reply