Hello friends. In this article, we will write our application, which we handled the service side in our previous article, with MVC. Before that, if we need to talk about MVC; The model consists of View and Controller layers. When an action is done on the screen, this can be touching a button or taking any action, it will be reporting the action to the Controller. Then we have to do our operations on the Controller and update it in the Model. After updating the model, we will update the View to show it to the user via the Controller. In fact, it is very simple and easy to use as can be seen from the diagram. Let’s reinforce it with an example.

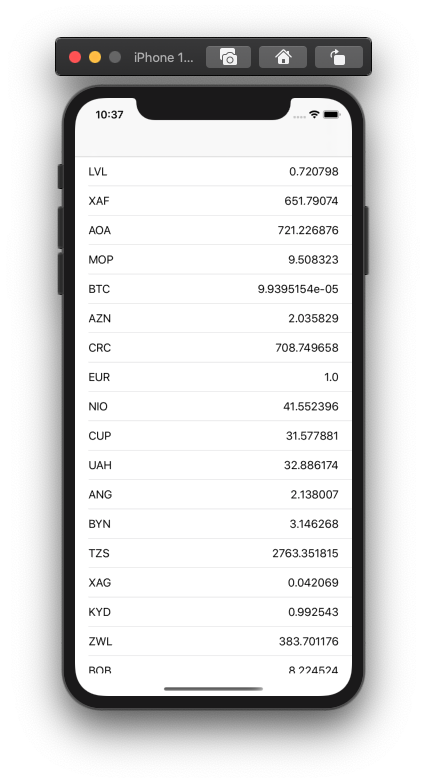
If we talk about how the folder is at first; We keep the files that we will use in common in the application under a folder called App. For any page or screen, we open a folder called Scenes and put it under it, and we collect each screen under a folder to make it more organized. We collect the application’s logos, splash page and any resources under this folder. Of course, you can also find small touches while applying this architecture, but the important thing here is to follow the general rules. The testability, usability and understandability of the code must be at the highest level. This is a must for teamwork and developers who will maintain the application after you. For the screen design, we throw a TableView and select a ready-made default cell. With this cell we will be able to show both the short name and the value of the currency.

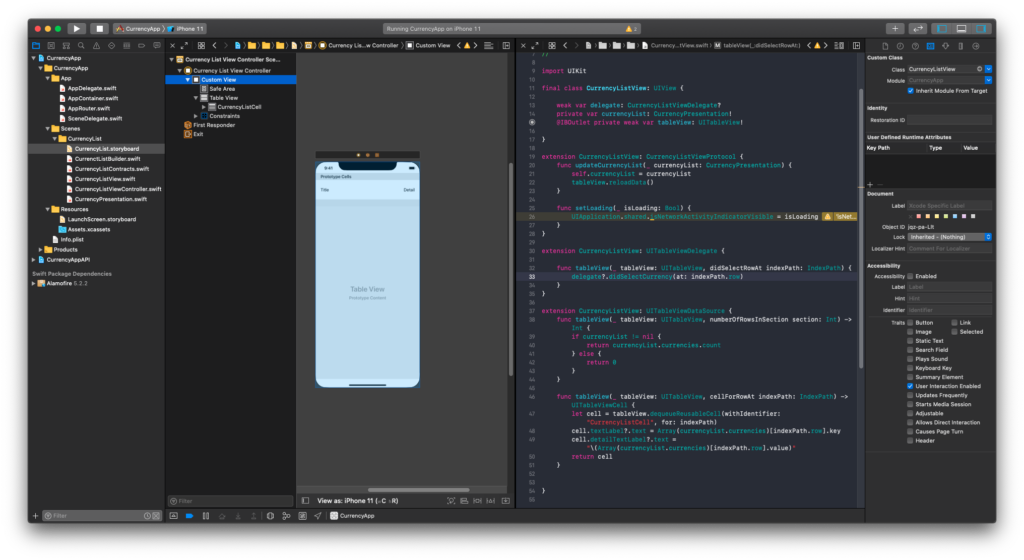
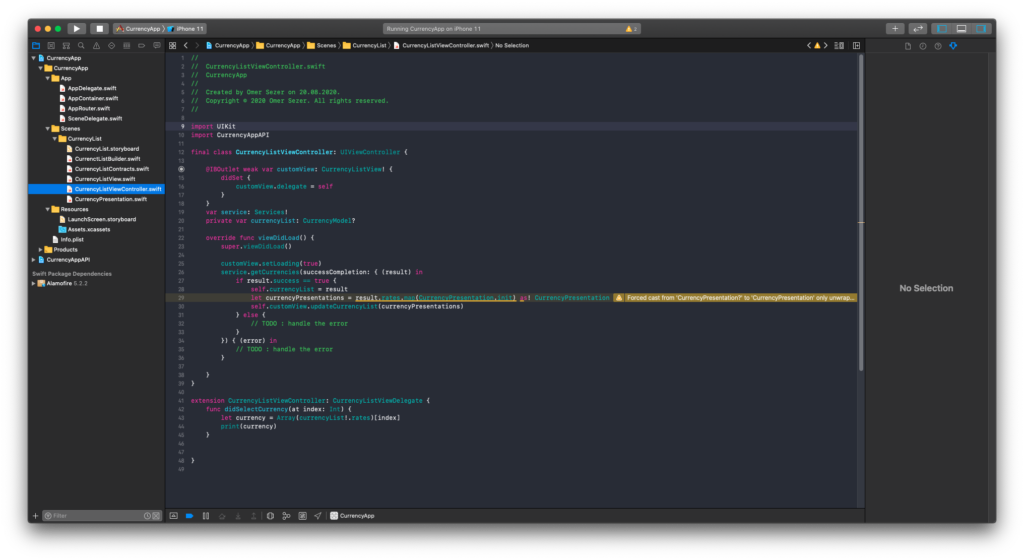
By default, View and Controller are not separated much in the storyboard structure in Swift. To put it this way, we need to link the controls on the Storyboard we designed as an outlet. This is generally the ViewController. As such, there are outlets of the controls in the View and the Controller section on the ViewController. That’s why we usually create a View file for each screen and link the screen on the storyboard here. In this way, we do not see the outlets of the controls on the screen in our Controller file. In this class, we also do the operations of listing on the screen and showing the loading icon with the commands from our Controller class. In addition, since there is a TableView on the screen, we must do its DataSource and Delegate operations here. Of course, we are adding them using an extension for clean code.
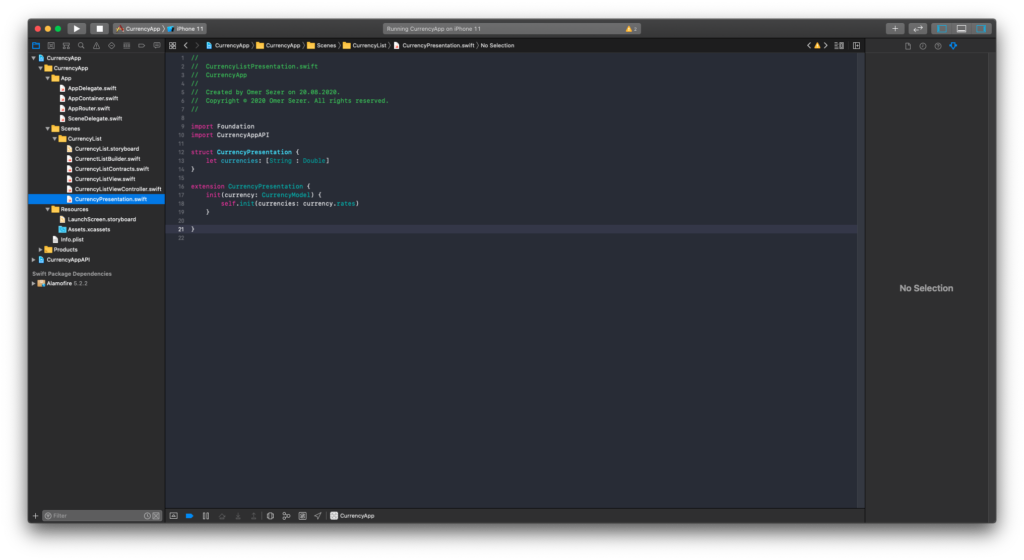
The other part of us is the Model part and we create a Presentation for this. In this way, we can display the data from the service as we want.
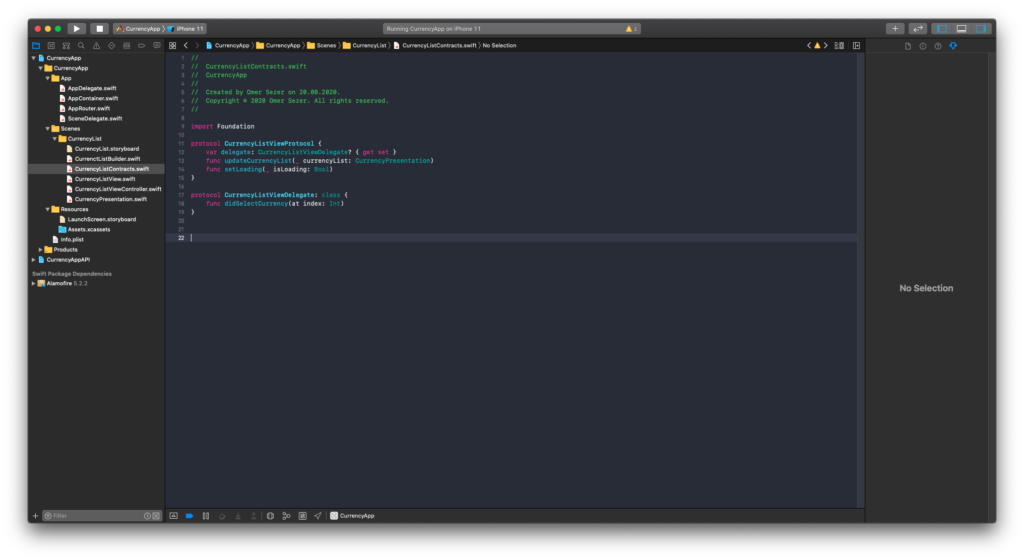
Another class of ours is the Contract class. Here we write the protocols in general. Thanks to these protocols, it is clear who will do what.
Then there is the controller part and here we establish the connection between the View and the model. As you can see from the codes here, the things that each structure will do are separated in a very simple and precise way. The controller part says show the loading icon on the screen in the View part and the View part only changes the UI. Then the Controller pulls the data from the service and converts the incoming data to the model and says “View” on the screen, and the View part only performs screen display operations. When you click any item from the list in the View section, View says it to the Controller section with index and performs the operations here. It can do this with the Contracts class.
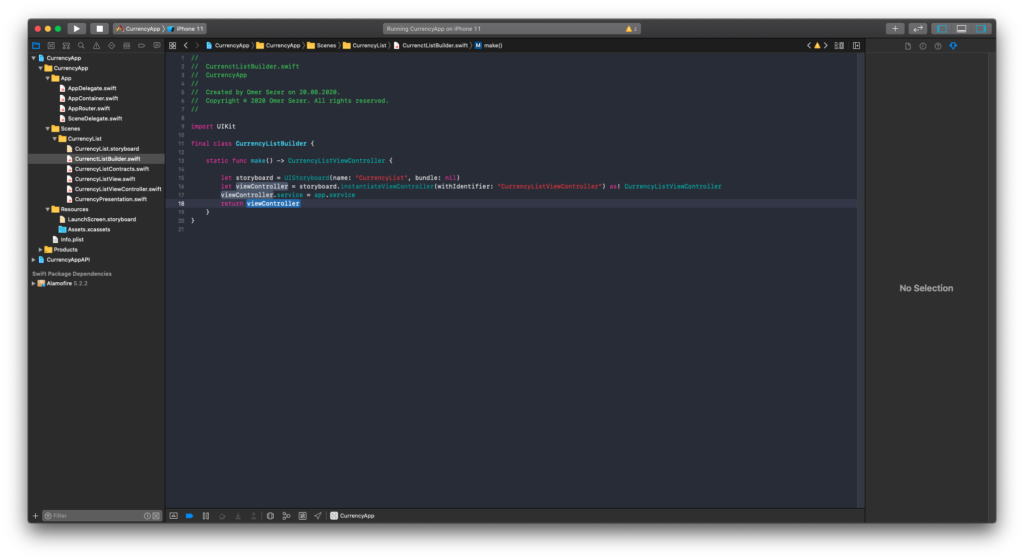
Finally, there is the Builder class, and this class allows us to create the structure here, that is, to open the page.
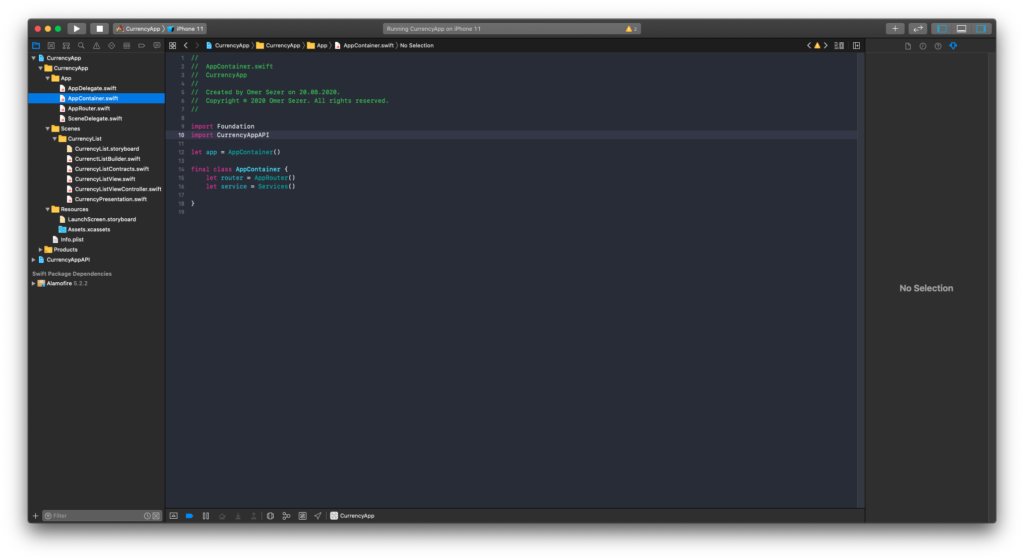
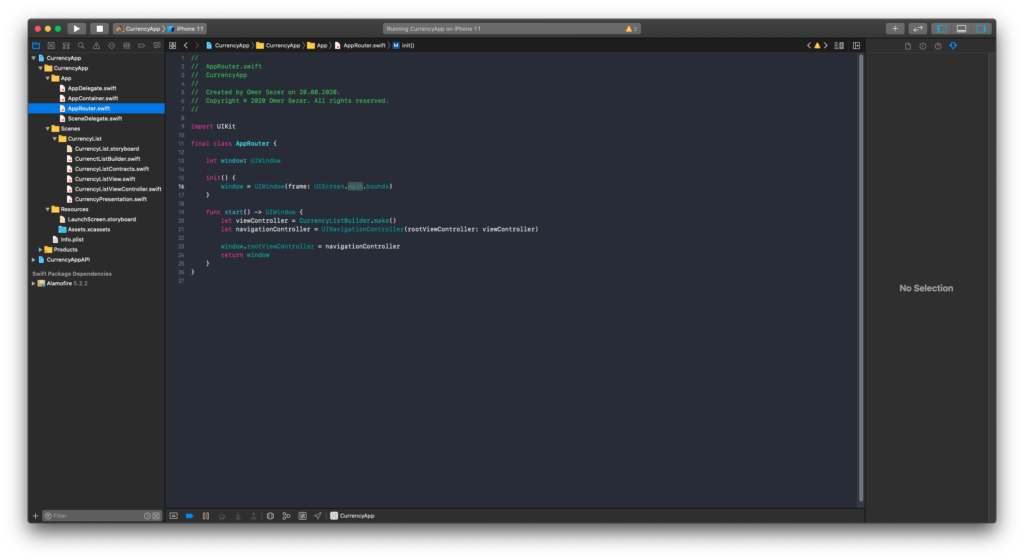
The last parts are a topic that concerns the general application. With the container, we can access the router and service section within the application, and then we open the pages in the application with our Router class.
If you have any questions, you can reach them by e-mail or comment. As I mentioned in the first article, everything may not be exactly right because I learned it by writing. I would be glad if you warn you when you see a wrong place. You can find the codes here. Good work.
Leave a Reply