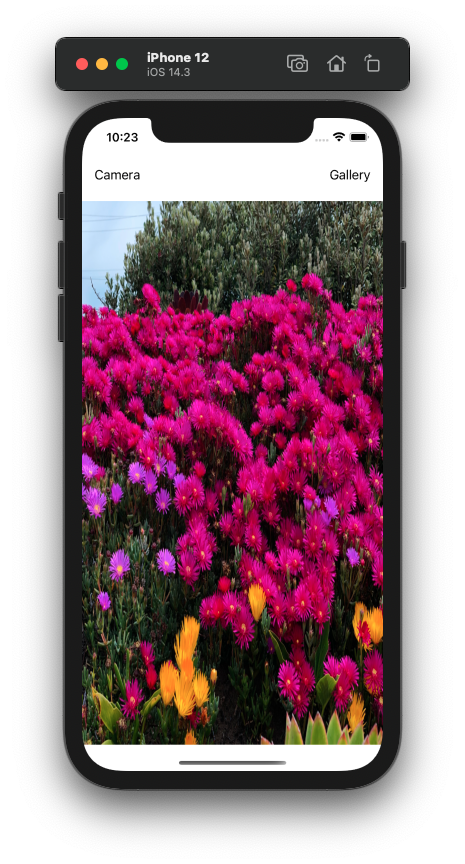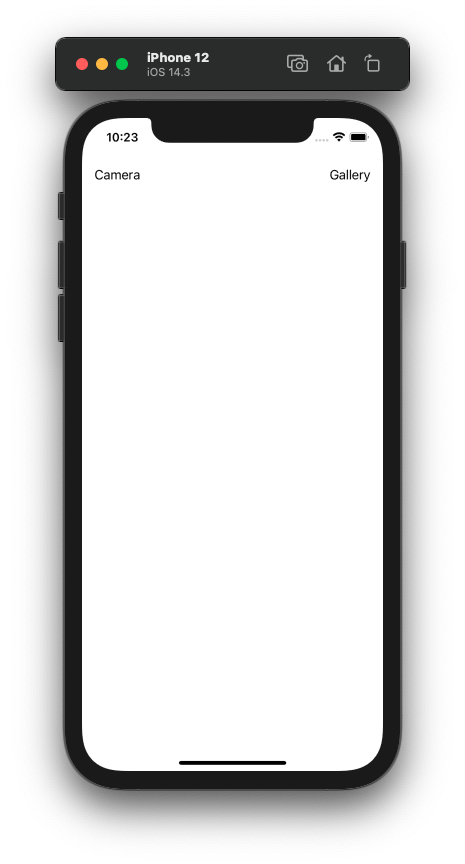
Hello friends, in this article, we will look at topics such as how to take photos with SwiftUI and choose photos from the gallery. There is currently no control on SwiftUI side for these processes, which we use in almost many projects. That’s why we need to do this with UIKit. When we want to use an element from UIKit, we need to use the UIViewControllerRepresentable protocol.
First, let’s make a simple screen design. There will be a design with 2 buttons above. One of them is to take a photo from the camera and the other is to choose a photo from the gallery. Below these buttons, there will be a photo from the camera or gallery.
We define 3 different States on this screen. One of these states is whether the page is opened to take photos and select photos from the gallery. We keep it with the isImagePickerPresenting State. The other one is the last to keep the selected or taken photo, and it will be the option to take a photo from the camera or choose a photo from the gallery. Then we added a simple design.
//
//  ContentView.swift
//  swiftui_camera_gallery
//
//  Created by Omer Sezer on 27.12.2020.
//

import SwiftUI

struct ContentView: View {
    @State var isImagePickerPresenting: Bool = false
    @State var selectedPhoto: UIImage?
    @State var sourceType: UIImagePickerController.SourceType = .photoLibrary

    var body: some View {
        VStack {
            HStack {
                if UIImagePickerController.isSourceTypeAvailable(.camera) {
                    Button(action: {
                        sourceType = .camera
                        isImagePickerPresenting = true
                    }, label: {
                        Text("Camera")
                            .foregroundColor(.black)
                    })
                    Spacer()
                }

                Button(action: {
                    sourceType = .photoLibrary
                    isImagePickerPresenting = true
                }, label: {
                    Text("Gallery")
                        .foregroundColor(.black)
                })
            }
            .padding()
            Spacer()
            if let selectedPhoto = selectedPhoto {
                Image(uiImage: selectedPhoto)
                    .resizable()
            }
        }
        .sheet(isPresented: $isImagePickerPresenting, content: {
            ImagePicker(sourceType: sourceType, selectedPhoto: $selectedPhoto)
        })
    }
}

struct ContentView_Previews: PreviewProvider {
    static var previews: some View {
        ContentView()
    }
}

UIViewControllerRepresentable
The most important thing is to create a control by UIKit and communicate it with SwiftUI. I’m creating an ImagePicker control for this. This structure will take 2 variables. One of them is whether the photo or the gallery will open. The other is the variable created to transfer the captured or captured photo to SwiftUI. UIViewControllerRepresentable protocol requires 2 functions. Of these, makeUIViewController function, to create a control from UIKit. The other is to update that control. For me, it is enough to just create control here. Then I create a coordinator to connect its delegate. After taking or selecting a photo with this coordinator, I assign it to the selectedPhoto variable.
//
//  ImagePicker.swift
//  swiftui_camera_gallery
//
//  Created by Omer Sezer on 27.12.2020.
//

import UIKit
import SwiftUI

struct ImagePicker {
    var sourceType: UIImagePickerController.SourceType = .photoLibrary
    @Binding var selectedPhoto: UIImage?
}

extension ImagePicker: UIViewControllerRepresentable {

    func makeUIViewController(context: Context) -> some UIViewController {
        let imagePicker = UIImagePickerController()
        imagePicker.allowsEditing = true
        imagePicker.sourceType = sourceType
        imagePicker.delegate = context.coordinator
        return imagePicker
    }

    func updateUIViewController(_ uiViewController: UIViewControllerType, context: Context) {

    }

    func makeCoordinator() -> ImagePickerCoordinater {
        ImagePickerCoordinater(self)
    }
}

class ImagePickerCoordinater: NSObject  {
    var imagePicker: ImagePicker

    init(_ picker: ImagePicker) {
        self.imagePicker = picker
        super.init()
    }
}

extension ImagePickerCoordinater: UIImagePickerControllerDelegate {
    func imagePickerController(_ picker: UIImagePickerController, didFinishPickingMediaWithInfo info: [UIImagePickerController.InfoKey : Any]) {
        if let selectedPhoto = info[.editedImage] as? UIImage ?? info[.originalImage] as? UIImage {
            imagePicker.selectedPhoto = selectedPhoto
        } else {
            imagePicker.selectedPhoto = nil
        }

        picker.dismiss(animated: true, completion: nil)
    }
}

extension ImagePickerCoordinater: UINavigationControllerDelegate { }

You can reach the project here. If you have questions, you can reach it by e-mail or comment. Good work.
Leave a Reply