Hello friends. In this article, we will talk about how we can do listings with SwiftUI. Those who used UIKit were using UITableView for simple listing operations. SwiftUI has a control called List for simple list operations. We are doing listing operations with this controller.
When we do here, we will do an example of listing people. First of all, we need to create our model. Here we will only show the person’s name and address. For this, I am creating a class as you can see below. The point to be considered here; this class is inherited from the Identifiable interface. The reason we add this is because when listing in SwiftUI, each cell requires a unique Id. For this reason, he said that if you make your models listed in SwiftUI as Identifiable, you can solve this. That’s why we need to make the model we show in the list Identifiable.
//
//  Contact.swift
//  swiftui_list
//
//  Created by Omer Sezer on 29.10.2020.
//

import Foundation

class Contact: NSObject, Identifiable {

    let fullName: String
    let address: String

    init(fullName: String, address: String) {
        self.fullName = fullName
        self.address = address
    }
}
After creating our contact model, we need to create a dummy array here. Currently we do not extract and display data from the internet. Again, I’m creating a separate class called ContactList for this. In this class, there is an array that holds contact objects and a function that creates dummy contacts. When we call the class, I created a loop for your init function to create 20 people and pass it to this string. There are 2 points we need to pay attention to here. It also caught your attention. This class is inherited from ObservableObject. The reason for this is that when something changes in this class, the list will automatically update itself. If @Published we put at the beginning of our variable, when there is an addition or deletion in this variable, it binds the list as a dire and the list updates itself.
//
//  ContactList.swift
//  swiftui_list
//
//  Created by Omer Sezer on 29.10.2020.
//

import Foundation

class ContactList: ObservableObject {

    @Published var contactList: [Contact] = []

    init() {
        for _ in 0..<20 {
            generateContact()
        }
    }

    func generateContact() {
        let generatedContact = Contact(fullName: "Test \(contactList.count)", address: "Address \(contactList.count)")
        contactList.append(generatedContact)
    }
}
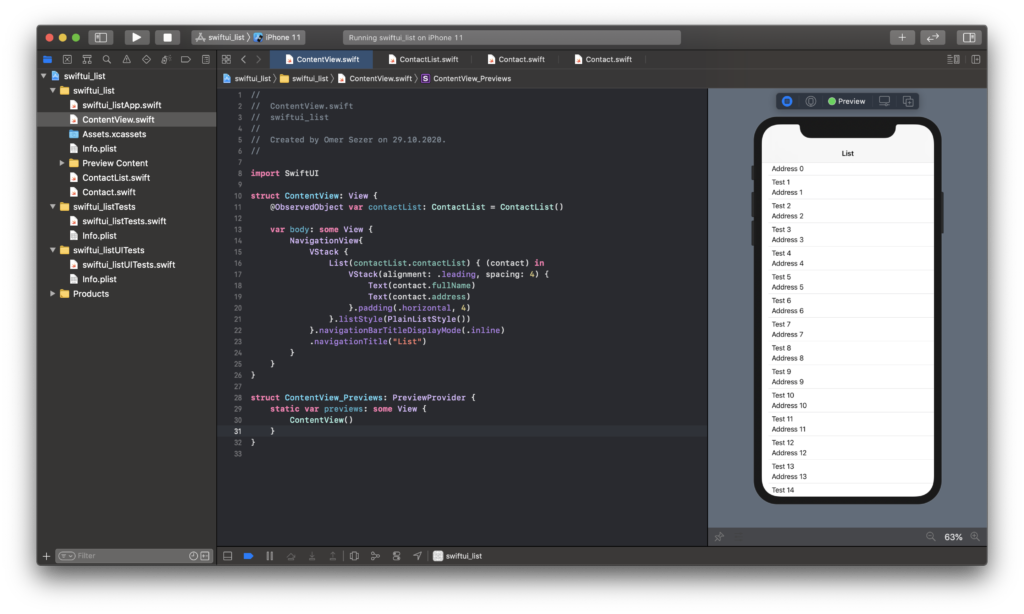
After creating our models, it remains to design and show it on the screen. I put a Navigation View outermost. I put a VStack into it with a List controller. This list has an initializer that takes multiple values. Since I will make a simple demonstration here, I choose the one with data and rowContent variables. Again, I create an object to be observed outside of our design. There are people that I randomly created in this object. I am giving this to the list. To create the cell of the list, I put VStack and put two Text in it. Then it’s up to your design.
//
//  ContentView.swift
//  swiftui_list
//
//  Created by Omer Sezer on 29.10.2020.
//

import SwiftUI

struct ContentView: View {
    @ObservedObject var contactList: ContactList = ContactList()

    var body: some View {
        NavigationView{
            VStack {
                List(contactList.contactList) { (contact) in
                    VStack(alignment: .leading, spacing: 4) {
                        Text(contact.fullName)
                        Text(contact.address)
                    }.padding(.horizontal, 4)
                }.listStyle(PlainListStyle())
            }.navigationBarTitleDisplayMode(.inline)
            .navigationTitle("List")
        }
    }
}

struct ContentView_Previews: PreviewProvider {
    static var previews: some View {
        ContentView()
    }
}
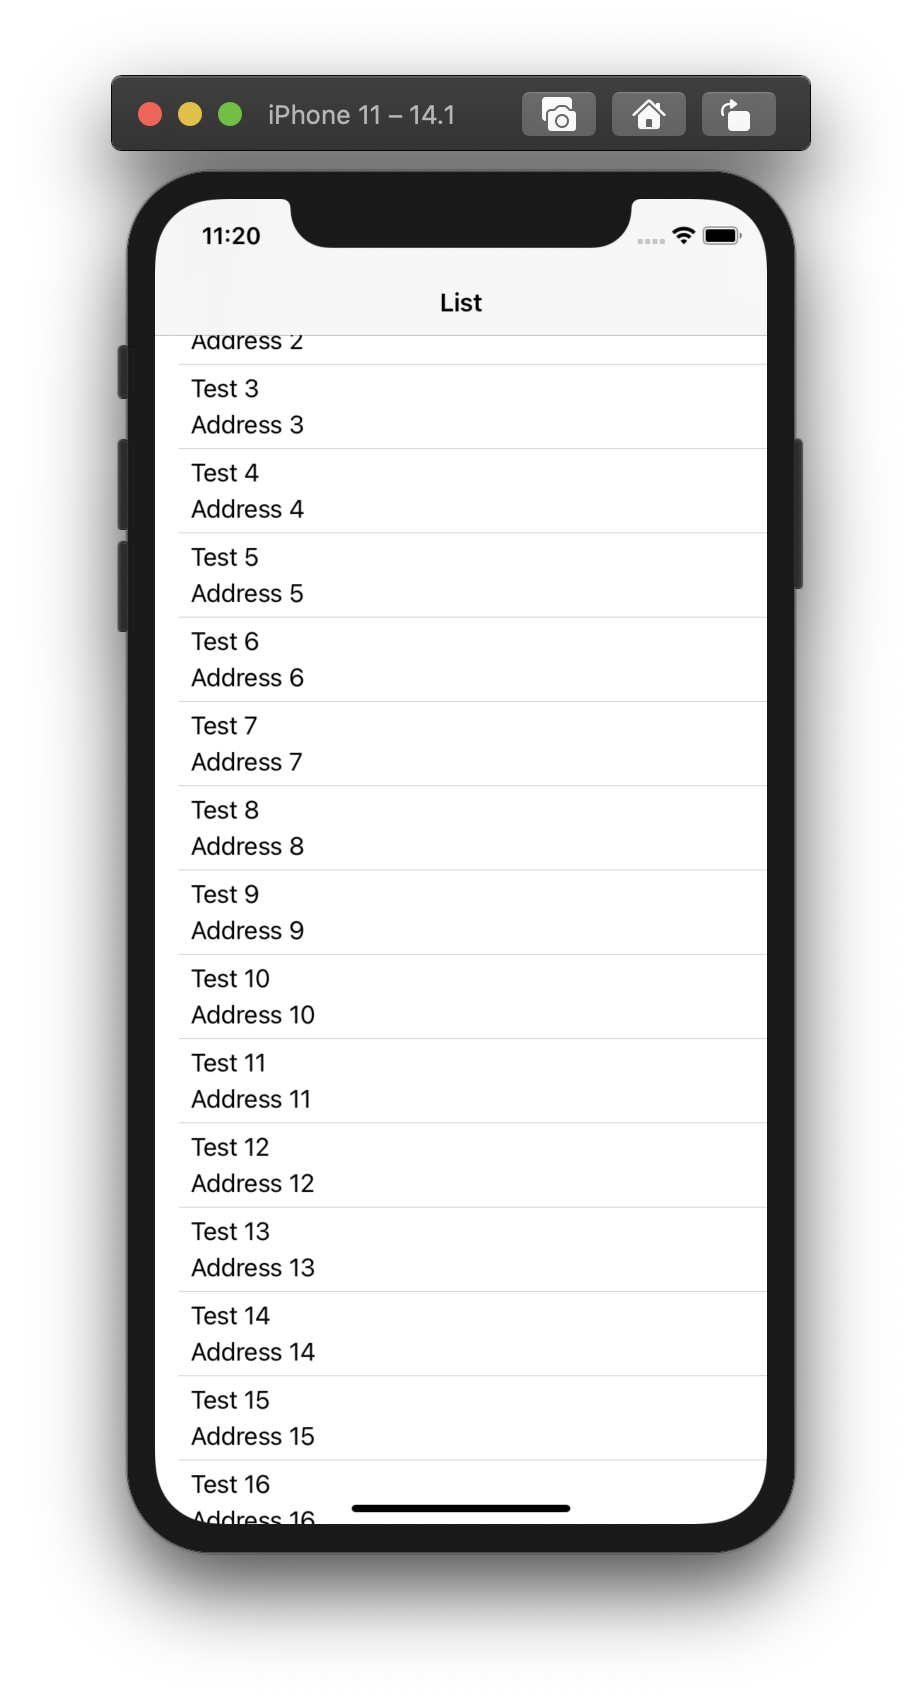
The screen output is like this.
If you have questions, you can reach by e-mail or comment. Good work.
Leave a Reply