
Hello friends, in this article, we will create ARKit projects with Swift and make many examples. I will share many of these in a repository on my Github account. You can check it out here.
ARKit was released by Apple in 2017 as a framework for iPhone and iPad. As it can be understood from here, it is supported on devices released after 2017 to use the ARKit library. For this, make sure that your device has a minimum A9 processor. iOS versions are also important, as ARKit is updated every year. For example, the minimum iOS version for ARKit is 11, while the minimum iOS version for ARKit 2 is 12.
As the name suggests, ARKit is described as Augmented Reality Kit. Thanks to this augmented reality library, we can show many two-dimensional and 3-dimensional objects in the real world. Often people confuse VR with AR, but they are very simply separated. Because while VR takes the user to a virtual world, AR brings virtual objects to the real world.
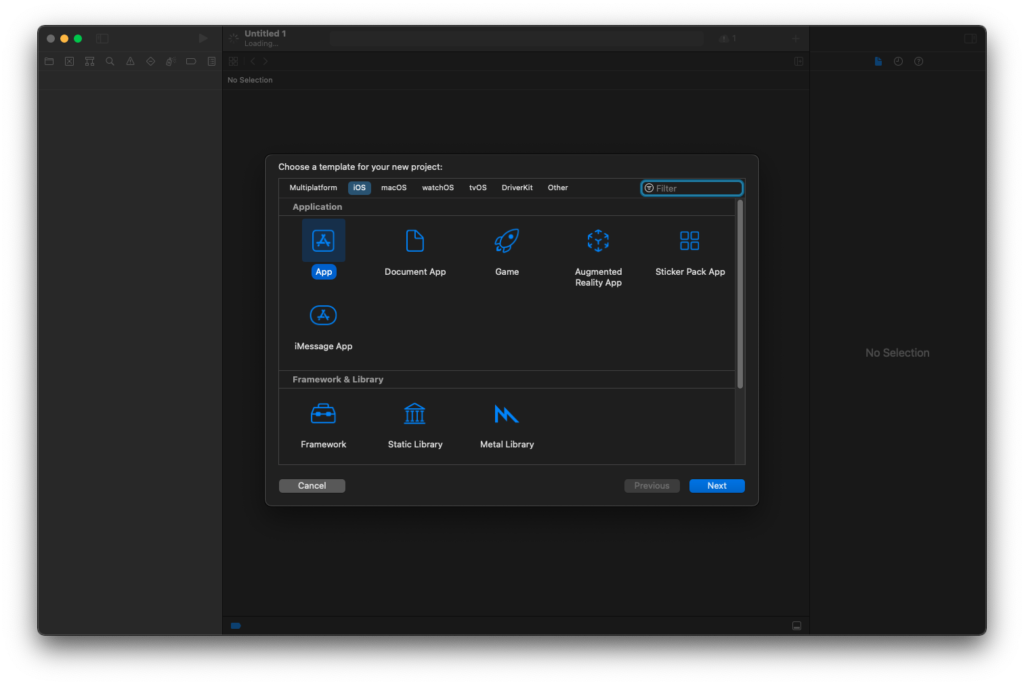
In this article, we will talk about creating an ARKit project and making the necessary adjustments. First, let’s create a Swift project. You can create it the same way you create a mobile application project.

Then let’s move on to the design part. Here we put a Scene View on the screen and constraint it to cover the entire screen. Then we go to our ViewController and make the necessary adjustments.
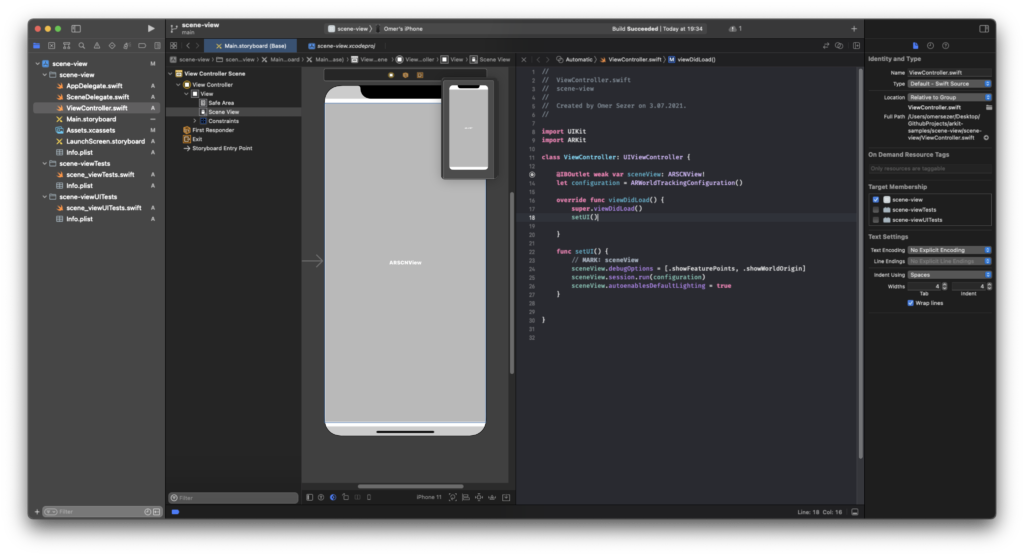
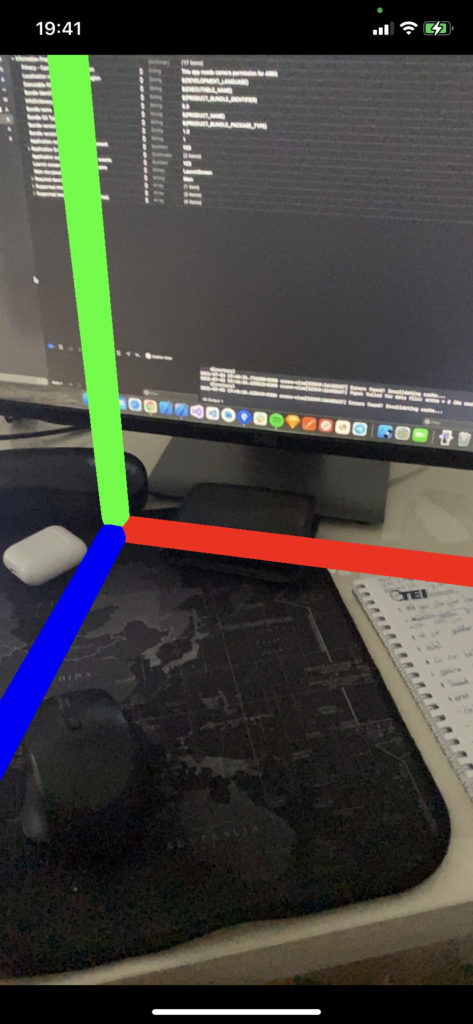
Here I also put the adjustments showing how your device sees the real world and the coordinates. This way you will also be able to see the coordinates on your device.
//
//  ViewController.swift
//  scene-view
//
//  Created by Omer Sezer on 3.07.2021.
//

import UIKit
import ARKit

class ViewController: UIViewController {

    @IBOutlet weak var sceneView: ARSCNView!
    let configuration = ARWorldTrackingConfiguration()

    override func viewDidLoad() {
        super.viewDidLoad()
        setUI()

    }

    func setUI() {
        // MARK: sceneView
        sceneView.debugOptions = [.showFeaturePoints, .showWorldOrigin]
        sceneView.session.run(configuration)
        sceneView.autoenablesDefaultLighting = true
    }


}
The screen output of this simple application is as follows.
If you have questions, you can reach us by sending an e-mail or comment. Good work.
Leave a Reply