We pass the last layer, the presentation layer. In this layer, we can use our projects and codes in the other layer by adding Add Reference in the Dependencies section. After adding other layers we have to make a few adjustments in the Startup class. We need to enter a link address here. We need to write this link address into the appsettings.json file.
Appsetting.json class;
{
  "ConnectionStrings": {
    "SpatcherDBContext": ""
},
  "Logging": {
    "IncludeScopes": false,
    "Debug": {
      "LogLevel": {
        "Default": "Warning"
      }
    },
    "Console": {
      "LogLevel": {
        "Default": "Warning"
      }
    }
  }
}
// This method gets called by the runtime. Use this method to add services to the container.
        public void ConfigureServices(IServiceCollection services)
        {
            services.AddMvc();
            services.AddDbContext<OrnekDB>(optionsBuilder => optionsBuilder.UseSqlServer(Configuration.GetConnectionString(nameof(OrnekDB))));
        }
I will operate on a database on Azure. We need to specify the connection string for this database in the appsettings.json file.
After you have done this, we can integrate our project into your database. Of course, there are things we need to do in this first, we have to choose the presentation layer as the project to start the project. We will then deal with Migration, so we must set the business layer as the default project in the Package Manager Console, where our Context file is located.
Our current business is related to Migration. First we have to add a Migration. Since there is no Migration at the beginning, we need to write the following code after the settings in the Package Manager Console. So we have added a Migration.
Add-Migration InitialCreate
After you create the migration, it will save your tables in the database by calling Update-Database. If you want to add new tables later, you can use the same steps.
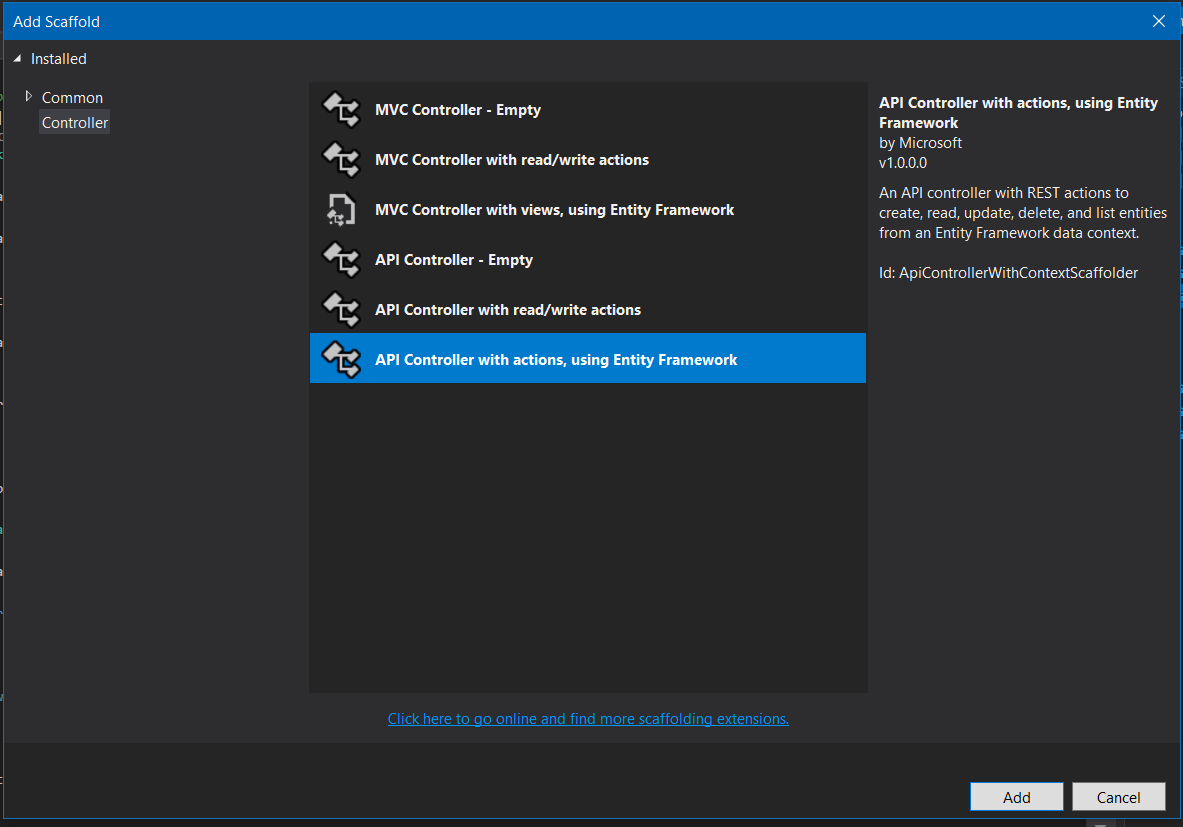
Finally, we come to the presentation layer. We need to add controllers in this layer. With these controllers, we can pull data from the database. We come to the Controller section in the presentation layer. We go to Add and select Controller. In the next page, we select the API Controller with actions, using Entity Framework. With this option, we can perform CRUD operations with self-generated code. Of course we have to make a few adjustments on the following screens. After we select which table and which Context we should choose, we automatically check them.
The other point we need to pay attention to is the compatibility of the packages. Current packages can sometimes make some nonsense mistakes. If you get an error, of course, you can correct the mistakes if you reduce the version of the lucky packages that are linked to the content of this error.
If you have any questions, you can contact me by email or comment.
Leave a Reply