Hello friends, in this article, we will talk about how to open an application with Deeplink in iOS applications.
Deeplink actually allows us to open our application while navigating to a website. In this way, we provide a better quality experience to our users. I give an example; In the password reset scenario, when a reset e-mail is sent to the user’s e-mail address, we open our application when we click on the link in this e-mail. In this way, the user can reset his password much more conveniently. In fact, we can multiply these examples. Campaign links, post links, etc. can open our application with many links and provide a much better experience to the user.
Before we can add deeplinks to our application, we first need an Apple Developer account. Then we need to open our project and add Associated Domains from the Signing & Capabilities section. Here, as the name suggests, we specify the domains to which our application is linked.
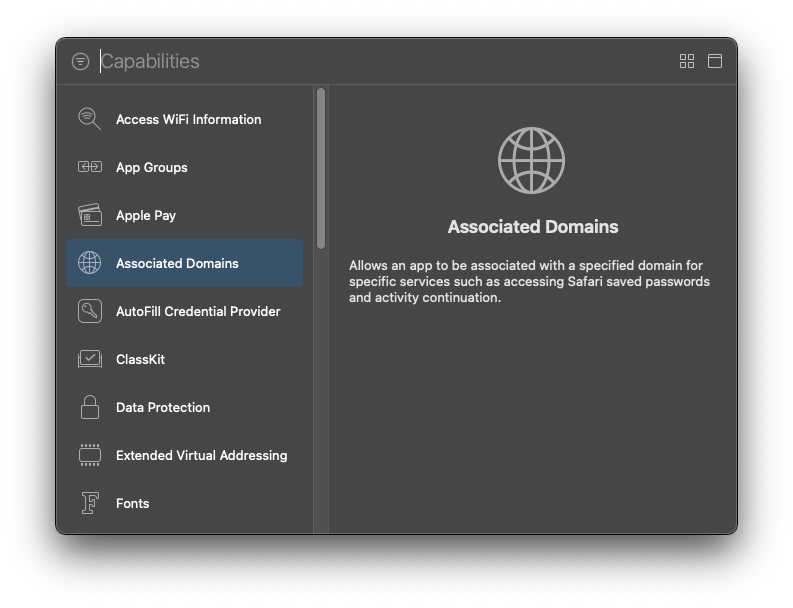
Here we need to add the field names as follows.

After performing these operations, we are now finished with our application. Now we need to add to our website. Here we actually need to specify which URLs this site will open in which application. You can open more than one application, more than one url on your site. This is where we set these. Then we need to save this file as apple-app-site-association. Make sure there is no extension at the end. Some editors can save this file with the ‘json’ extension when saving. You can find the TeamId in your Apple Developer Account.
{
    "applinks": {
        "apps": [],
        "details": [
            {
                "appID": "TeamID.BundleID",
                "paths": [
                    "*/SetPassword/*"
                ]
            },
            {
                "appID": "TeamID.BundleID",
                "paths": [
                    "*/Campaigns/",
                    "*/ResetPassword/"
                ]
            }
        ]
    }
}
You need to put the file you created in the .well-known folder in the main directory of the server. If you don’t have such a folder, you can create it and put it in. After downloading the file, you can check if it works properly here. The error you will likely get is this: “Your file’s ‘content-type’ header was not found or was not recognized.”. You can find the solution here.
Afterwards, when we go to the website, the application that we have specified in the file in .well-known will open if it is installed on our phone. If it is not installed, it will continue from the website. When the application is opened, you can catch the url it came from with the following function in AppDelegate. You can make page redirects accordingly.
func application(_ application: UIApplication, continue userActivity: NSUserActivity, restorationHandler: @escaping ([UIUserActivityRestoring]?) -> Void) -> Bool {
        guard let _ = userActivity.webpageURL else { return false }
        print(userActivity.webpageURL)
        return true
    }
My purely experiential notes, which I can’t see in Apple documentation, are as follows;
- Every time the application is installed, it checks the files in Associated Domains.
- If there are errors due to the internet during the control, if it cannot retrieve the data, it will try the data 3 more times at the next time, if something goes wrong again, it will stop trying.
- When you add or change the url in the file on the server, it does not affect the application immediately. For this, you need to update the application.
If you have any items that you want to add or correct, you can reach them by sending an e-mail or comment. Enjoy your work.
Leave a Reply