Hello friends. In this article I will talk about what Pod is and what it is used for.
It is an environment where we integrate packages for pod swift into our project. We do transactions through the terminal. It allows you to do transactions with Nuget Package Manager if you have Xamarin or .NET history or if you have Android history with Gradle. To use pods, we first need to add the computer pod. Addition is simple. You can add it to the terminal screen with only 1 line of code. Just run the following line of code.
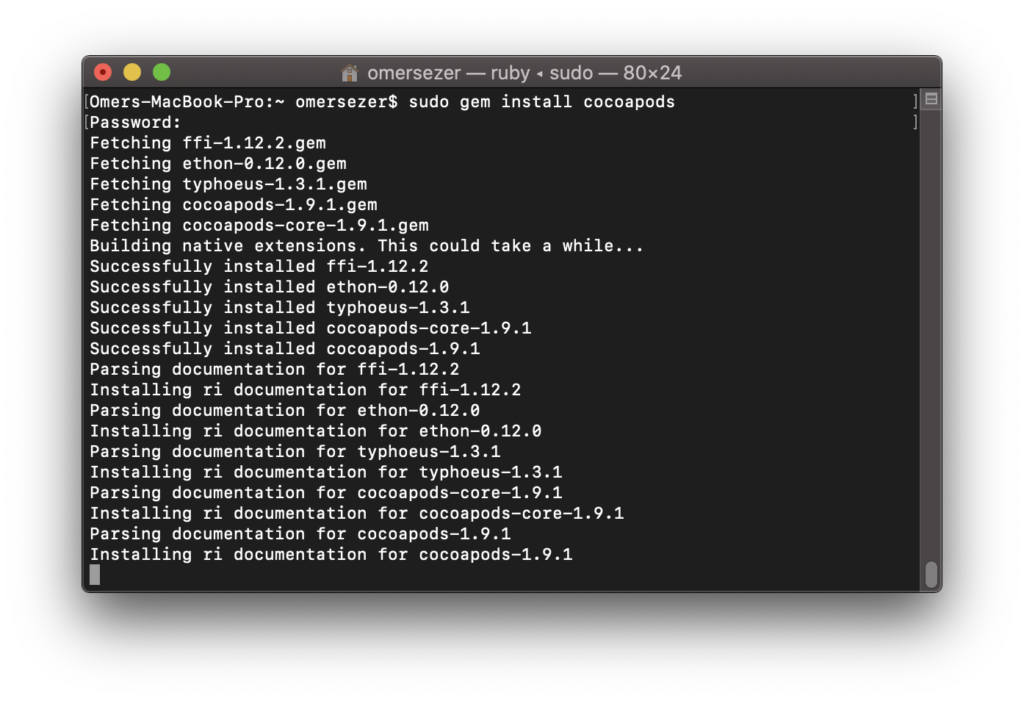
sudo gem install cocoapods
The terminal will then ask you for your computer password. It needs to download a few files from the Internet. Depending on your internet speed, the duration may vary. We have to wait a bit for this.
After installing the pod on our computer, we can add packages to our project. If we come to how to add the packages; we need to create a Pod file first. We will be doing this again through the terminal. We need to go to the location of our project file via the terminal. 2 commands are enough for this. These are the cd and ls commands.
cd: Open file directory
ls: Lists the file directory.
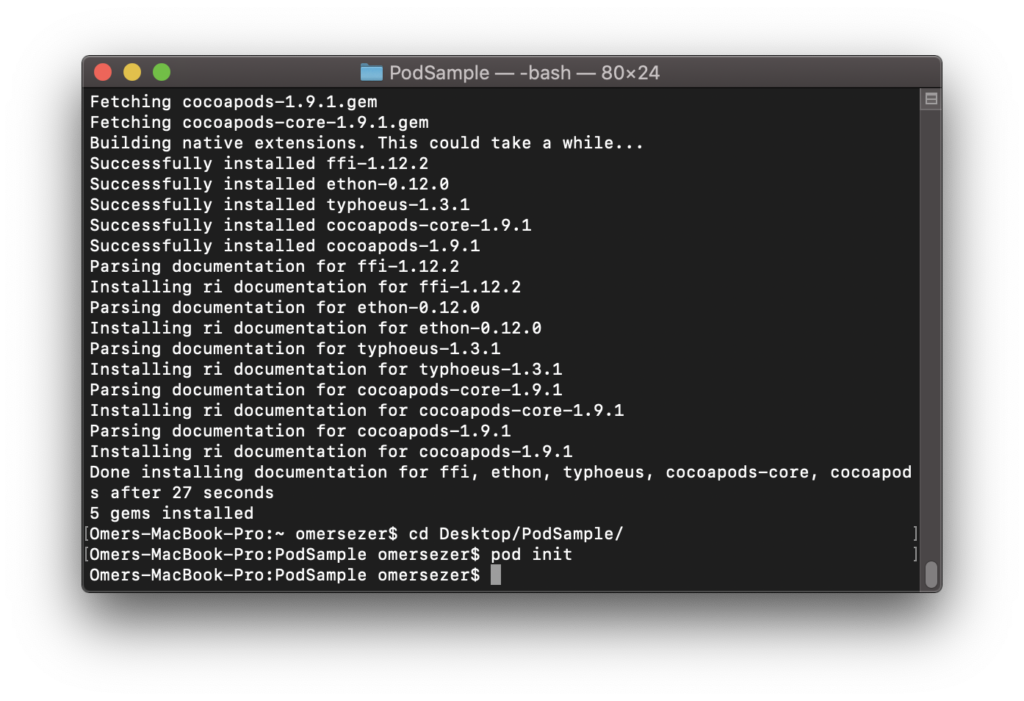
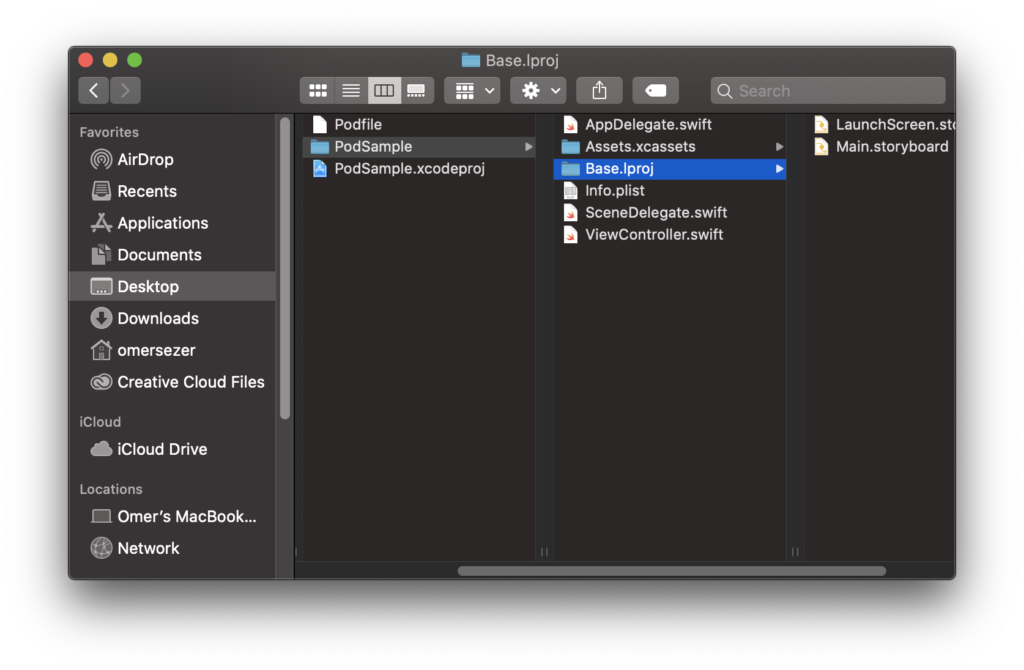
I create a project called PodSample, then open this project directory via the terminal. When you run the command line below in the project file, you will see a Pod file is created.
pod init
We need to open this Pod file and manually write the package names here. For the sake of example, I will add a simple bit Pod. For this, there is a package that we use in almost every project; SVProgressHud. I add this package to my Pod. If you want to get more detailed information about the package, you can find it here. The contents of my pod file are created as follows.
# Uncomment the next line to define a global platform for your project
# platform :ios, '9.0'

target 'PodSample' do
  # Comment the next line if you don't want to use dynamic frameworks
  use_frameworks!

  # Pods for PodSample
  pod 'SVProgressHUD'
end
Then we need to install this pod again in the project directory from the terminal. When you run the command below you will see that it is installed.
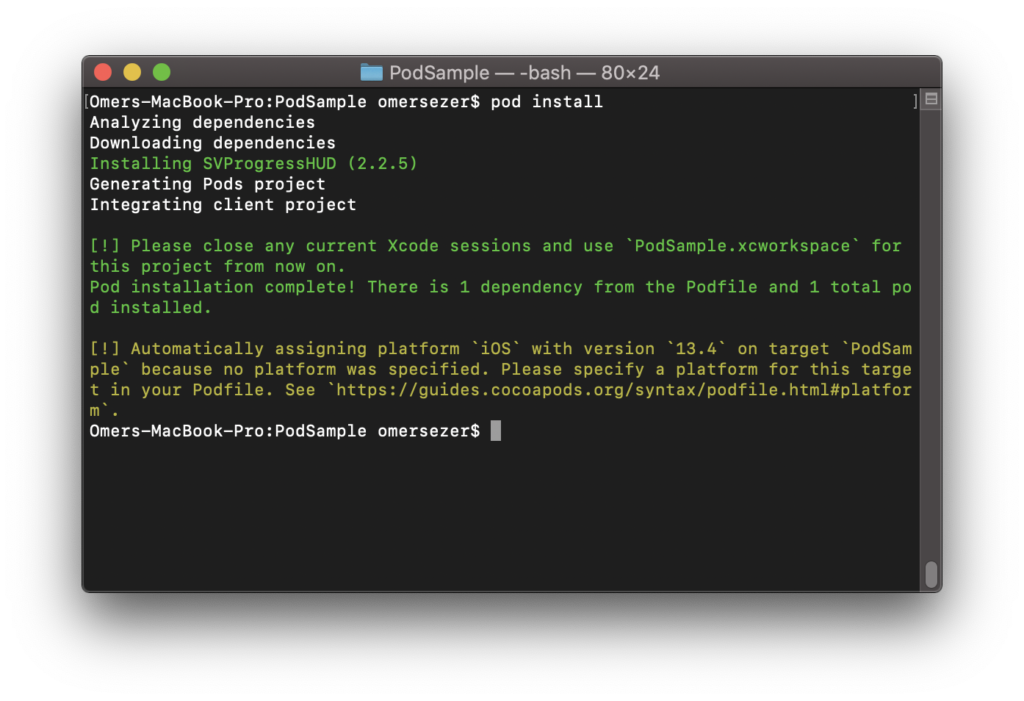
Then we can open our project and use this Pod. If you have any questions, you can reach them by e-mail or comment. Good work.
Leave a Reply