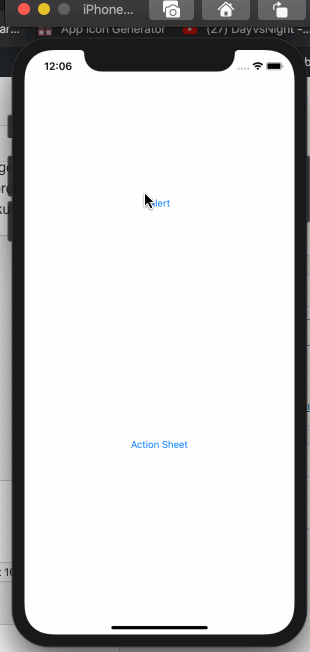
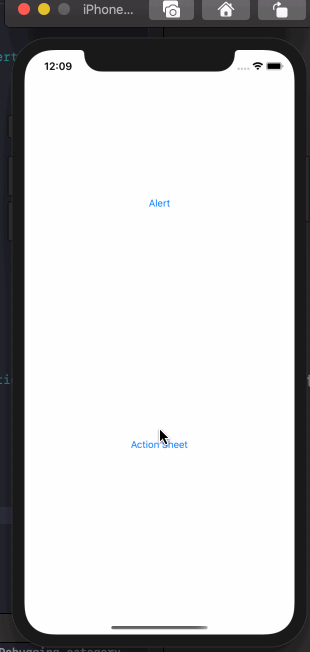
Hello friends. In this article, I will talk about how to create an Alert and Display Action Sheet with Swift. First of all, I will talk about what is Alert and Display Action Sheet.
If you want to show an error or warning message on the screen, the best way to do this is to remove Alert. It is very simple and functional to use. Or if you want to offer options to the user, another simple way is to use Display Action Sheet. Let’s start with Alert first. First you need to create a UIAlertController. When creating it asks for a title and message from you. Here you need to enter what you want to write in the header in capital letters and in the message in smaller letters. Then we need to enter what type of this UIAlertController is. We choose Alert because we want to remove Alert.
After adding Alert, we need to add buttons to this Alert. While only “OK” button is added for warning messages, we can present it in 2 option messages. So I add 2 buttons. For this we need to add UIAlertAction. When adding UIAlertAction, it asks us for the title and type. After entering this title, he asks what type he will be. This type actually helps us change the font of the title. Then he asks what we will do when it’s over. If you do not want to do anything, you can pass it on. But if you want to do something after clicking the button, it opens a closure here. You can perform operations in this closure. After adding the buttons, we need to add these buttons to our Alert. You can add these buttons with a function like Add action to Alert. The last action is to show this Alert on the screen. With Swift’s present function, it is enough to give Alert and say correctly to its animation. If you are going to perform an operation while opening Alert, you can use this closure.
func makeAlert() {
        let alert = UIAlertController(title: "Title", message: "Message", preferredStyle: .alert)
        let okButton = UIAlertAction(title: "Ok", style: .default) { (action) in
            print("ok was clicked")
        }
        let cancelButton = UIAlertAction(title: "Cancel", style: .cancel) { (action) in
            print("cancel was clicked")
        }
        alert.addAction(okButton)
        alert.addAction(cancelButton)
        present(alert, animated: true) {
            print("alert is done")
        }
    }
In fact, while Display Action Sheet is almost the same, just create an Alert and just select Display Action Sheet instead of Alert.
func makeDisplayActionSheet() {
        let alert = UIAlertController(title: "Title", message: "Message", preferredStyle: .actionSheet)
        let firstButton = UIAlertAction(title: "First", style: .default) { (action) in
            print("first was clicked")
        }
        let secondButton = UIAlertAction(title: "Second", style: .default) { (action) in
            print("second was clicked")
        }
        alert.addAction(firstButton)
        alert.addAction(secondButton)
        present(alert, animated: true) {
            print("alert is done")
        }
    }
If you have questions, you can reach them by e-mail or comment. Good work.
Leave a Reply