
Hello friends. In this article I will talk about using Xamarin Forms and Control Template. What is the Control Template first and what is it used for?
When we translate the Control Template into Turkish, it means something like a control template. With Control template, you can write a structure on each page once in the App class and write to all other pages. So it is quite a useful structure. Would definately recommend. Below we will create an example scenario and go through it.
For example, many pages have header and footer fields and you don’t want to rewrite them on each page. For this, we pass to the xaml side of the App class. We define a Control Template in the Resource Dictionary tags, which are among the Application Resources tags. We give this template an x: Key to invoke a name from other pages. you can give whatever you want. Then we will form the basis of the page. I’ll add a header and footer. I’m going to create a different middle for each page. I will make 10% of the page special for the header section, 10% for the footer section, and the rest for each page. I build this with the Grids. Header and footer.
<Application.Resources>
        <ResourceDictionary>
        <ControlTemplate x:Key="MyTemplate1">
            <Grid>
                <Grid.RowDefinitions>
                  <RowDefinition Height="0.1*" />
                  <RowDefinition Height="0.8*" />
                  <RowDefinition Height="0.1*" />
                </Grid.RowDefinitions>
                <Grid.ColumnDefinitions>
                  <ColumnDefinition Width="0.05*" />
                  <ColumnDefinition Width="0.95*" />
                </Grid.ColumnDefinitions>

                <!--template header-->
                <!--use of template binding for color-->
                <BoxView Grid.ColumnSpan="2" Color="{TemplateBinding Parent.ThemeColor}" />
                <Label Grid.Row="0" Grid.Column="1"
                       Text="this is my theme style 1"
                       TextColor="White"
                       VerticalOptions="Center" />

                <ContentPresenter Grid.Row="1" Grid.Column="0" Grid.ColumnSpan="2" />

                <BoxView Grid.Row="2" Grid.Column="0" Grid.ColumnSpan="2" Color="{TemplateBinding Parent.ThemeColor}" />
                <Label Grid.Row="2" Grid.Column="1"
                       Text="Omer"
                       TextColor="White"
                       VerticalOptions="Center" />
            </Grid>
        </ControlTemplate>
</ResourceDictionary>
    </Application.Resources>
One of the most important parts of the Control Template is the Content Presenter. Wherever we add the Content Presenter, the content of the pages will show there. I’m adding Content Presenter here because I want it to be in the 80%.
After we’re done on this page, we go to our normal pages and give the Control Template, and then we start creating the content of the page. What we write inside the page will actually appear in the Content Prensenter section of the Control Template that we have appleted in the App class. we need to design accordingly.
<?xml version="1.0" encoding="utf-8"?>
<ContentPage xmlns="http://xamarin.com/schemas/2014/forms"
             xmlns:x="http://schemas.microsoft.com/winfx/2009/xaml"
             xmlns:local="clr-namespace:XamControl"
             x:Class="XamControl.MainPage">
   <ContentView x:Name="contentView"
               ControlTemplate="{StaticResource MyTemplate1}">
        <StackLayout VerticalOptions="CenterAndExpand" Padding="10,0,10,0">

  <Label Text="Sample Page" FontSize="Large" HorizontalOptions="Center" VerticalOptions="Center" TextColor="Black"/>
</StackLayout>
    </ContentView>
</ContentPage>
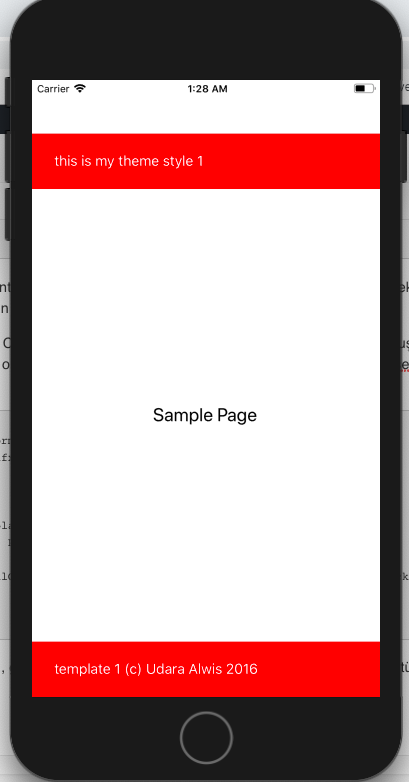
Actually, that’s it. A very simple and convenient structure, I recommend you use it as needed. The screenshot is as follows.
Another thing to be aware of is that we decide whether to make a static or dynamic template when assigning a Control Template. If you have decided that you will not play later in your designs, you should assign them as Static, but if you are going to change the design or color later and also want them to appear on all of your other pages, it is better for you to give Dynamic.
If you encounter a problem you can reach by e-mail or comment. Good work
Comments (2)
Furkan kayasays:
Thursday December 19th, 2019 at 05:13 PMöncelikle teşekkürler Sezer bey. bi sorum var.
ben header kismina bi imagebutton ekledim .
app.cs tarafında bu imagebutton a bi click event verdim.
bu eventin icinde DisplayAlert veya Navigation gibi metodlari kullanamiyorum.
bu durumu nasil cozebilirim tesekkurler?
Furkan kayasays:
Thursday December 19th, 2019 at 05:31 PMApplication.Current.MainPage.Navigation veya DisplayAlert oluyomus…