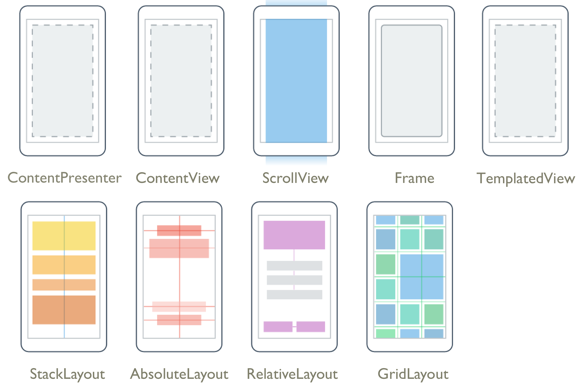
One of the most important issues in Xamarin is page layouts. It must be very well known in terms of design. Otherwise you may face a disgusting design. For this, Xamarin offers us 9 Layouts. You can use the 9 layouts below, depending on what layout you want.
- Content Presenter
- Content View
- Scroll View
- Frame
- Templated View
- Stack Layout
- Absolute Layout
- Realtive Layout
- Grid Layout
Short brief information about these is below.
1-Content Presenter

We can use the Content Presenter to display views in the form of a template. It separates the page completely as it covers the information in the upper bar of the page. It must be used in the Control Template to determine where the content to be displayed is located. You can use it if you want to show an image or video in your application or talk about an important post.
2- Content View
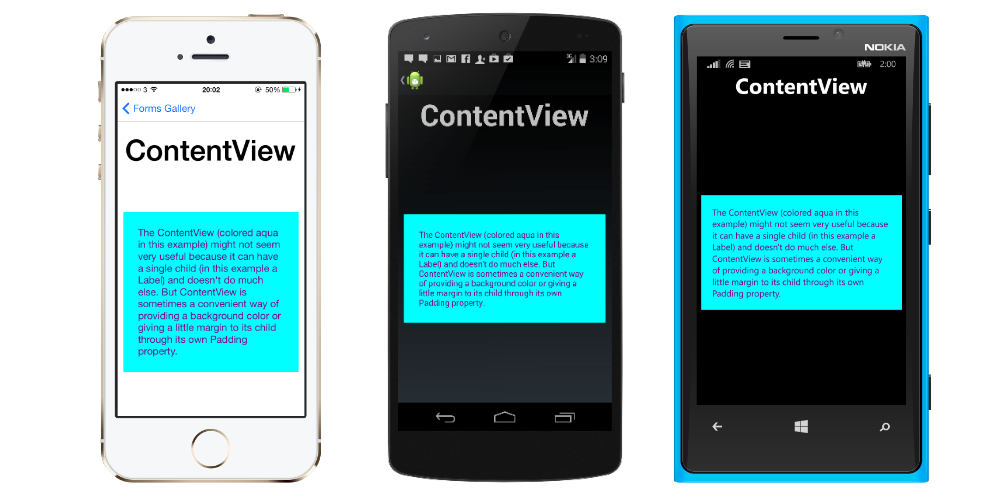
Content View is a page layout that we can find in almost every application we know. The Content Presenter has a setup so that the upper bar is visible. It has a single content. The purpose is to provide a base class for user-defined composite views. You can also use it visually.
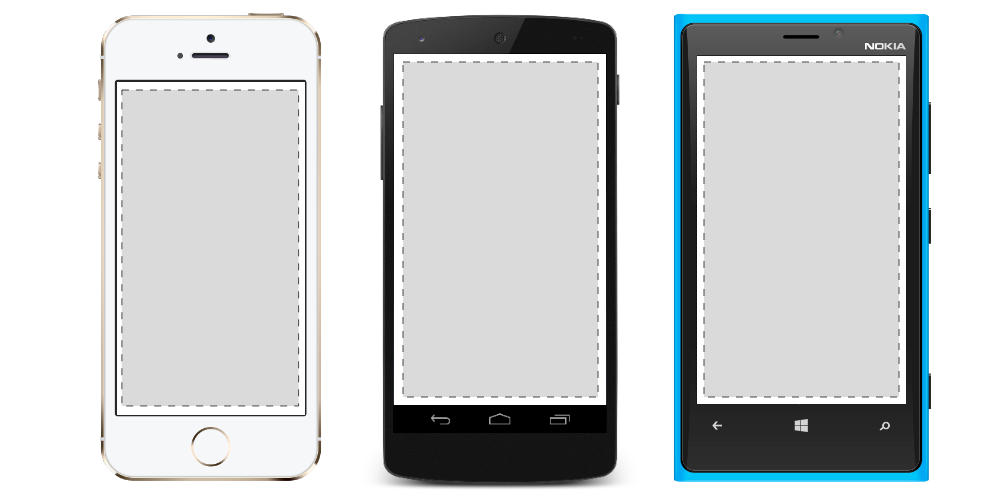
3- Frame
The frame is designed to automatically paddle 20 paddings. So if you are going to use Frame, you should be prepared for this. All page layouts are similar and there are only a few minor changes. If you need what you need, you can use Layoutu.

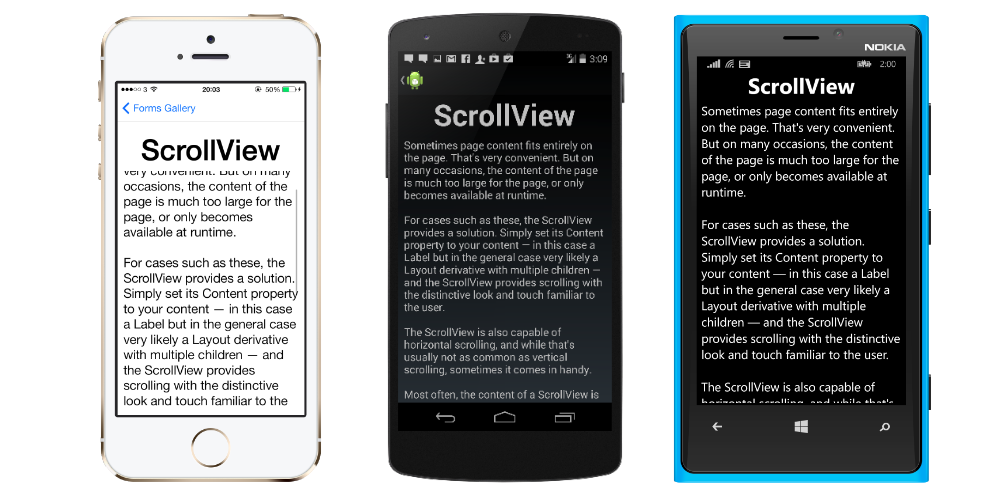
4- Scroll View
Scroll View is probably one of the most important Layouts. Unlike other pages, we can drag the page down. This feature also gives us more page space. If you have a long letter or if you make a registration screen and get a lot of information, you can use this scheme. It’s not just limited to these. You can use it as you like.
5- Templated View
Almost the same as Templated View Content Presenter. Even though their usage is different, the two page structure is very similar. So you can choose both. I do not think there’s going to be a problem.
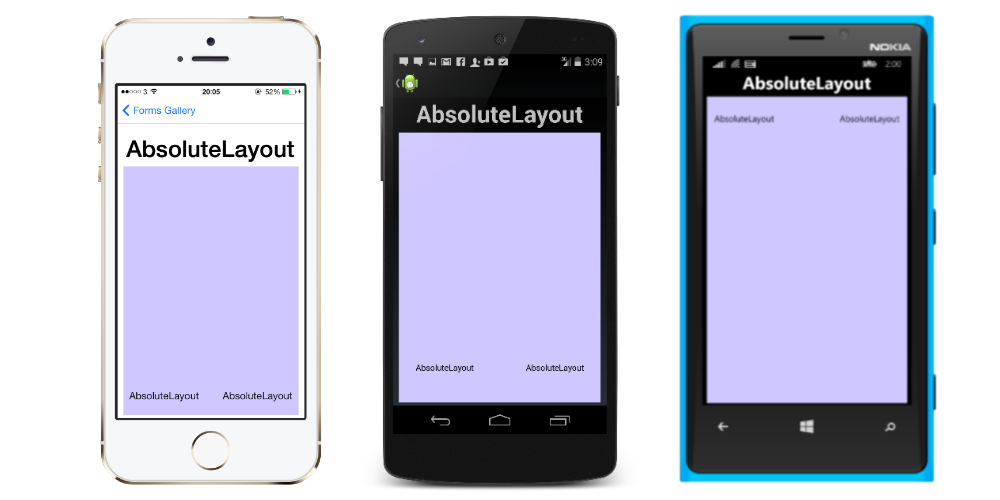
6- Absolute Layout
With Absolute Layout you can give the X, Y coordinates to decide where the page will stop. It is, of course, controversial how much relative prominence the progeny will have. They have users but it makes more sense to use them for small projects. Because there are many devices with different resolution. There is not much to say about the resolution difference between a 3-inch device and a TV, but of course you can only develop it for devices of the following size.
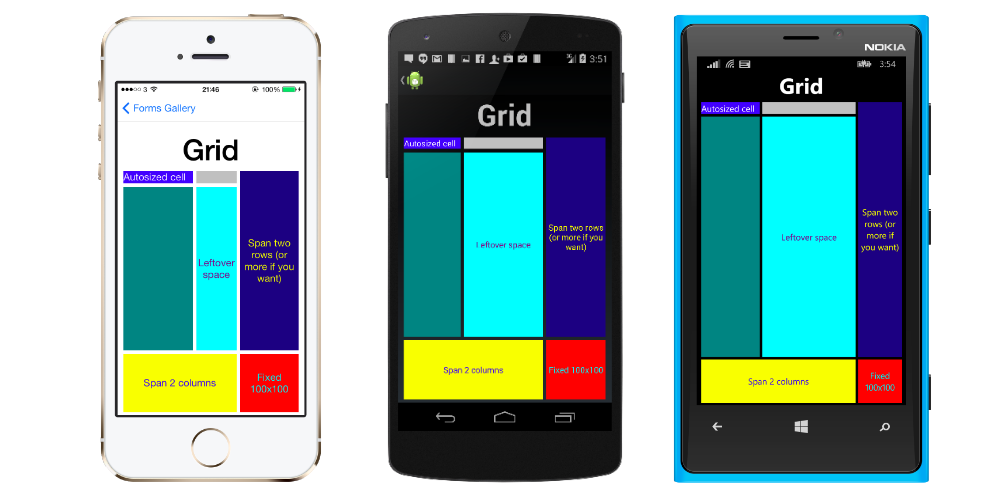
7- Grid
By giving the number of rows and columns with the Grid, you actually get a relative view.
8- Relative Layout
If you want your application to be completely relative, you need to use Relative Layout. This arrangement tells you where an item is to be found in the other item, making it look the same whether it is a very large screen or a very small phone. This makes it very easy for you from the visual point of view.

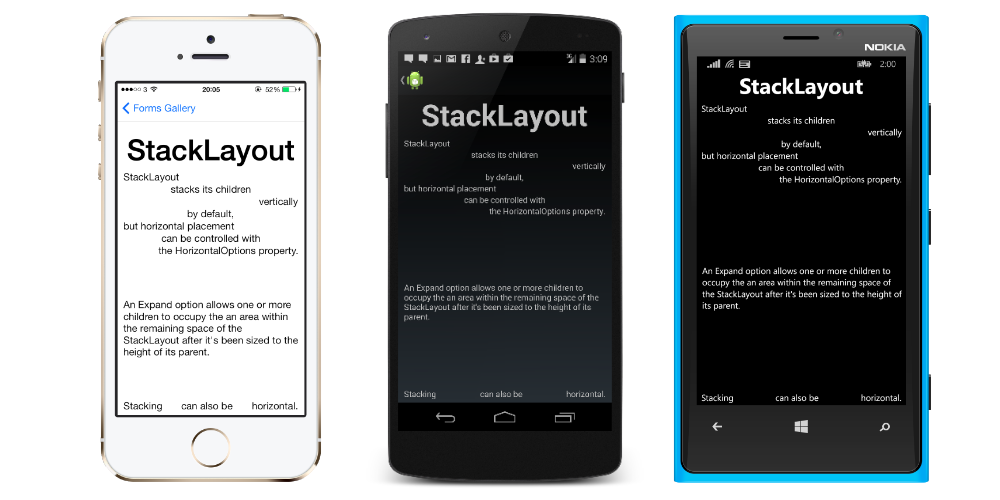
9- Stack Layout
When you use Xamarin you will use layout Stack Layout. Because when you use the grid, you use the relative layout, ie you use the stack layout what you use. You can only use stack layout on a page. If you are going to use a flat page.
Leave a Reply