
As we mentioned in our previous article, an internet-free application is almost unthinkable. We need a database to store users, to keep the information of the user, to keep all kinds of information. The simplest thing is to make a game and take the score data of this game and compare it with other people. For this, database operations are important. No, I only want to compete with the user himself or if you say that you will not hold such important information, you can store your data locally using SQLite. I want to store my data on the internet but if you do not have that big name and score, then you can simply keep it in Azure without using a web service. For these two operations, I mentioned how to use it in my previous writings. In this article, I will talk about how to better customize the database to hide larger data.
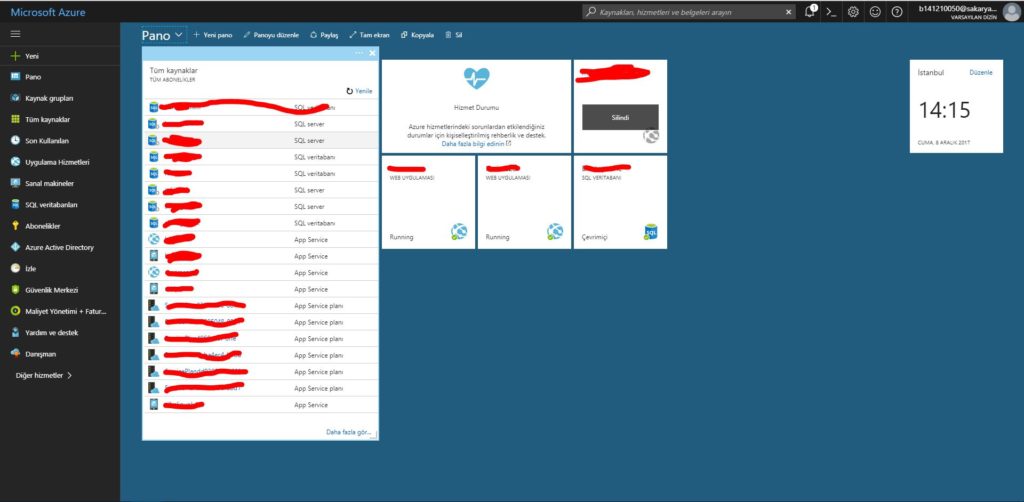
In fact, with Xamarin I wrote earlier, the Online Database (Simple) article is a bit like the one but it changes completely afterwards. Again, you are entering your Azure account first. If you are a student, you already have your school for free, but if you are still experiencing a setback, if you create a new user with a credit card you are giving a $ 200 trial account. When we open our Azure account, we see our projects here. We are pressing the new button from the categories in the sidebar to create a new project.
Here we are talking about many sample project types. We are choosing this project type by typing Mobile Apps Quickstart in the search section.

There are areas we need to fill in about the type of project we choose. Application name; I will name the name of the application for the experiment. Subscription part; The part we mention about which subscription we use for Azure. I am connecting via DreamSpark because I have my school account. The resource group and the App Service plan are already forming themselves. We say create and create our project. The rate of creation of the project may vary depending on your internet speed, but it takes some time.

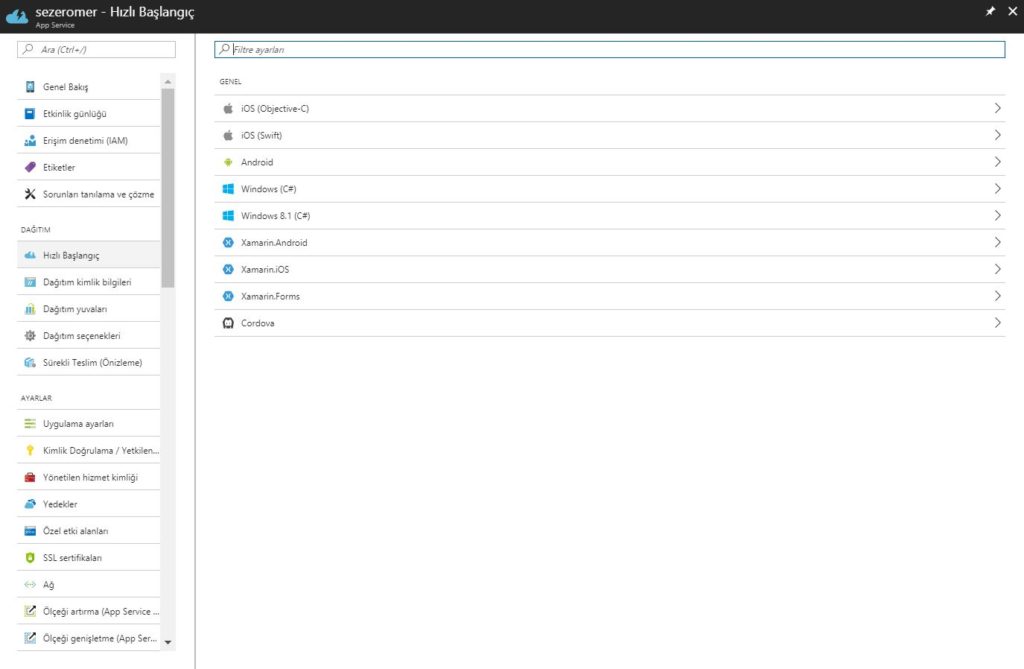
When we look after our project, we get a screen like this. We can download the project created on this screen. You can choose which language you are working with, but I will choose Xamarin.Forms to work with Xamarin.Forms.
The section so far was the same as my last article. After that, we create the operations that we will use to make our database more effective. In our project, we will create a SQL Azure database as we want to use a larger database. As already mentioned in the image below, SQLite is not used in big projects. We will create a data base by clicking on this article.
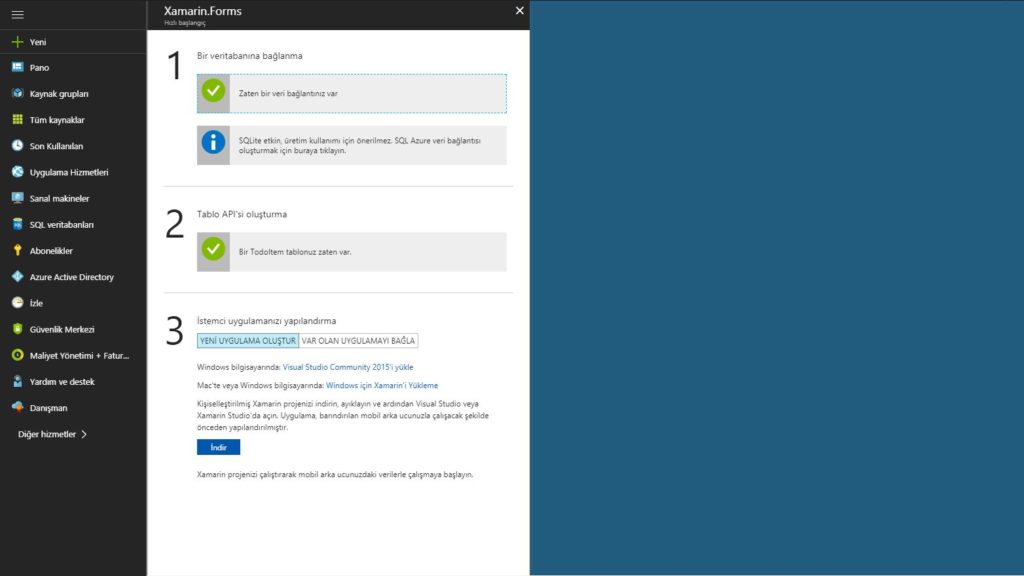
SQLite will build and continue in other spelling. You can find the article here.
Leave a Reply